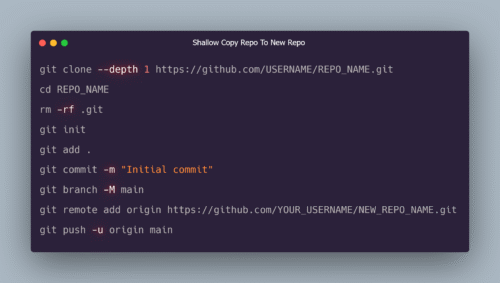
Sometimes you need to create a copy of an existing Git repository—maybe to start a new project, share a codebase with a different team, or set up a public starter kit. This guide shows you how to copy your repository to a new remote, with options for mirroring the entire repo or just a specific branch. You’ll also see how to turn the new repository into a template if you want others to use it as a starting point.
1. Create a New Repository on GitHub
- Go to GitHub and create a new repository (do not fork the original).
- Leave it empty—no README, .gitignore, or license.
2. Add the New Remote to Your Local Repository
In your project directory, add the new repository as a remote:
git remote add new-origin https://github.com/YOUR_USERNAME/NEW_REPO_NAME.gitReplace the Github URL with the URL of the new repository you created.
3. Copy Your Repository
Option A: Mirror the Entire Repository
This copies all branches, tags, and history:
git push --mirror new-originYou can use this to clone the entire repository and its history.
Option B: Push Only a Specific Branch
To copy just one branch (for example, main):
git push new-origin your-branch:mainReplace your-branch with the branch you want to copy.
4. (Optional) Remove the Extra Remote
If you don’t need the new remote in your local setup:
git remote remove new-originThis detaches the repository from the new repository.
5. (Optional) Make the New Repository a Template
If you want others to use your new repository as a template:
- Go to the new repository on GitHub.
- Click Settings > General.
- Check the Template repository box.
Now, anyone can use the “Use this template” button to create their own copy.


